Yo! This is my first technical post. So let’s do something we want to do but you cannot google the solution on the Internet.
Most of the photographers use Lightroom. I am no exception. I love the way Lightroom organise your photos and how simple it is for the post work. I was a 100% Photoshop guy before, but now I go for Photoshop only when Lightroom does not offer some advanced retouching and other advanced features like multiple exposure.
But I am very annoyed by the way Adobe handle Lightroom catalog. Lightroom catalog stores the organisation structure, metadata, and even those non-destrutive adjustments (by default) of your photos. You definitely want to sync it between your computers, so that you need not import your photos again when you go from your PC to your laptop.
Adobe advised that you sync the catalog using an external drive. It works, but there are some problems:
- Plug and play is good, but plugging USB cable frequently from one computer to another is not “play”.
- No auto backup of the catalog and the photos and videos, which rank only the second you don’t want to lose just after your family and friends (and perhaps wealth).
I searched the Internet and found lots of frustrated Lightroom users annoyed by that. I thought of other solutions, but they didn’t really work:
- Sync catalog and media using Dropbox or other cloud sync solutions
Media collection is gigantic. Tons of 4k videos and raw photos. I don’t think even the most expensive plan Dropbox offer can accommodate such capacity. - Put catalog and media on a network drive (eg. shared folder on a Network-attached Storage, NAS)
A picture is worth a thousand words:
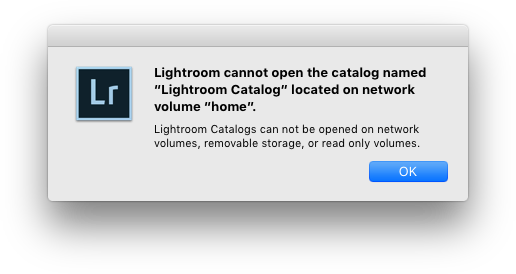
- Sync catalog using Dropbox or other cloud sync solution, and reference media stored on network drive
It works if all your computers are PC, or all are Mac, but not a mix. The reason is Lightroom stores the media location in the catalog as absolute path if the catalog and the media belong to different root volumes. So if you import photos in Windows, they will have a path like “\\NAS01\Media” or “Z:\Media”. When you open Lightroom in your Mac, all files go “missing”, because Lightroom expects the media folder in path like “\\NAS01\Media” or “Z:\Media”, but indeed the folder is in “/Volume/Media/”. When you update the folder location in Mac, all media go “missing” in your PC again.
OK, so we need to put the media files and the catalog next to each other, and perhaps Lightroom may be “smart” enough to locate the files using relative path. We also want to put them on a high-speed connected network drive (NAS), so that we can have a common place to access on our PCs and Macs, plus the files are automatically and regularly backuped to external drives and cloud. But how do we solve the problem of Lightroom not letting us put the catalog on a network drive?
Well, we fake it. Let it think the catalog is on a local drive instead of a network drive. And the answer is virtual hard disk.
-
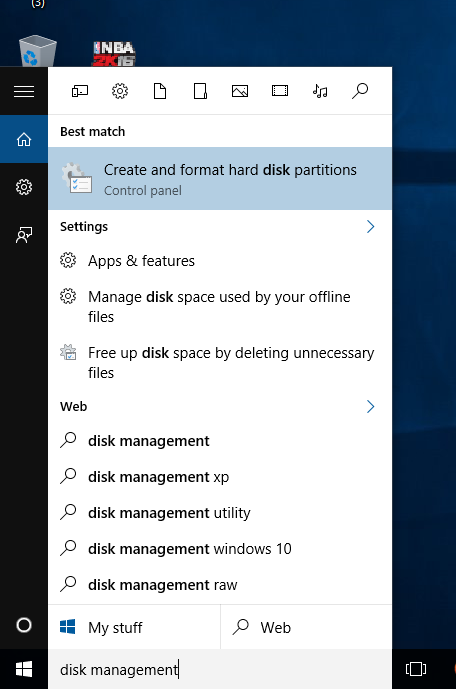
On Windows, go to Start menu and search for “Disk Management”. 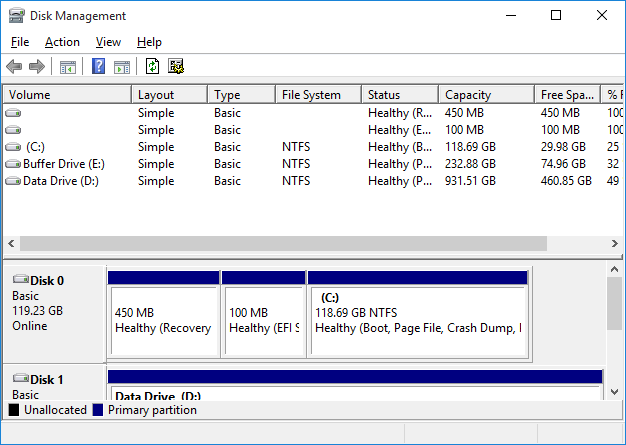
Disk Management window appears. -
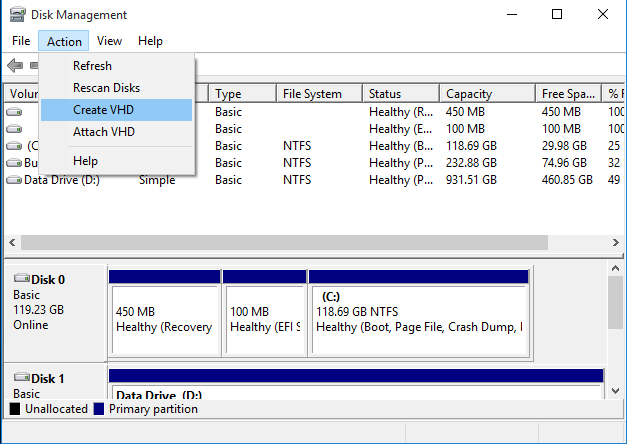
In the menu bar, click “Action” -> “Create VHD”. -
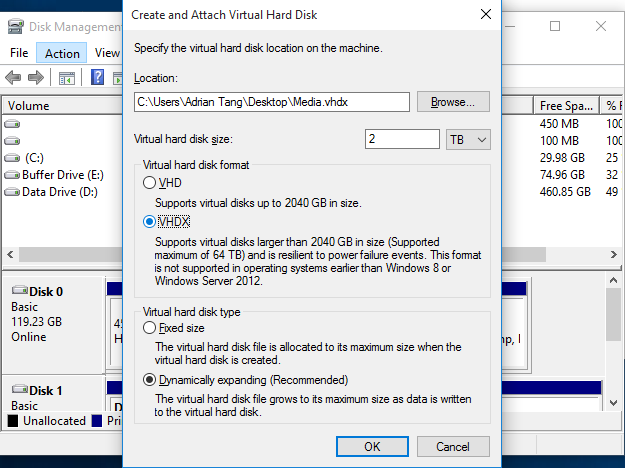
Select the network drive path as the location. (I saved it to my Desktop, and moved the file to the network drive.) Choose either VHD or VHDX. I chose VHDX because I have no PC having Windows 8 or older. Choose the recommended setting for “virtual hard disk type”. -
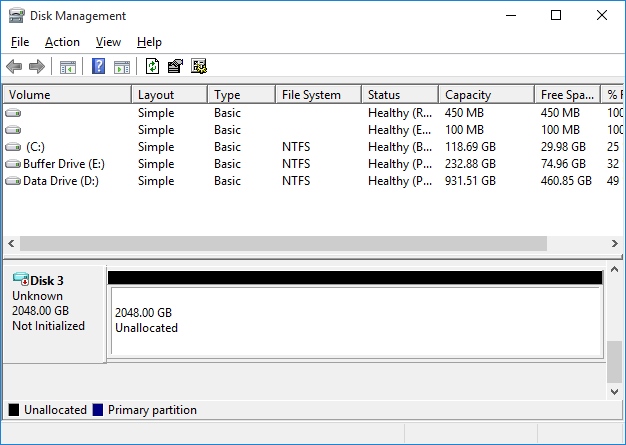
At the bottom of the panel, a new disk is created. The virtual hard disk file is also created at the location you selected in the previous step. -
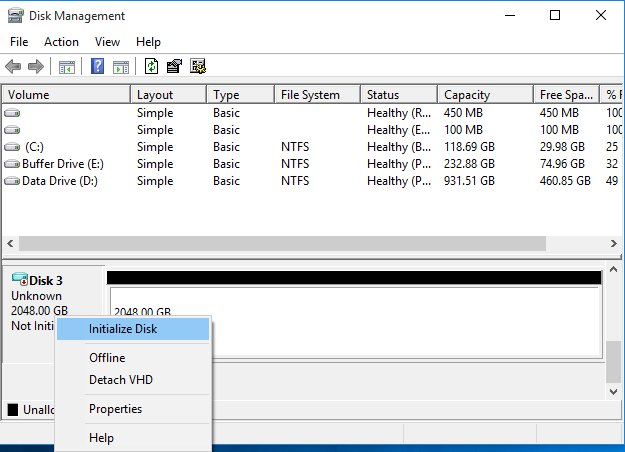
Right click on the drive, select “Initialize Disk”. -
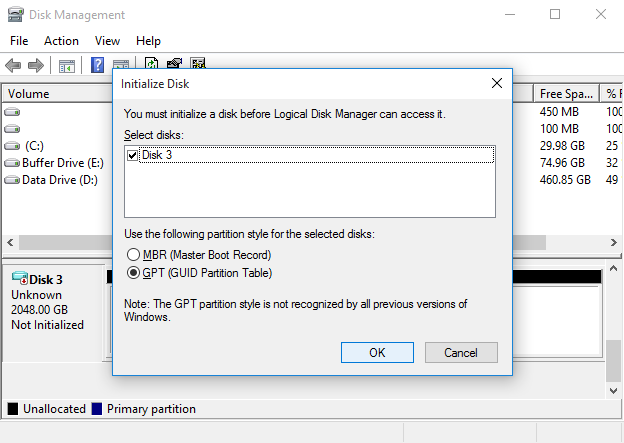
Choose GPT. -
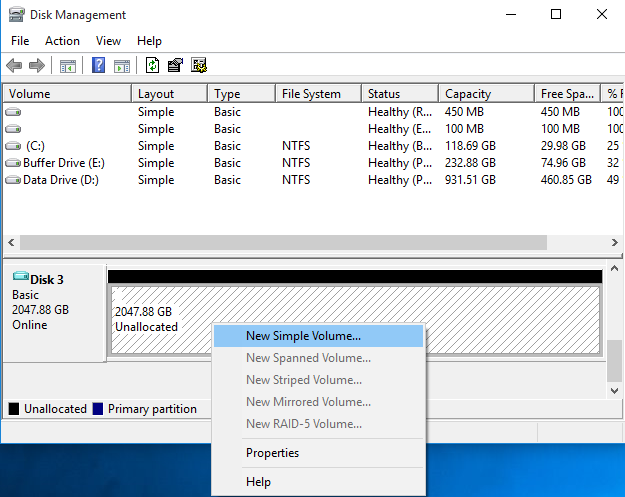
Right click on the area with the black top bar. Select “New Simple Volume”. -
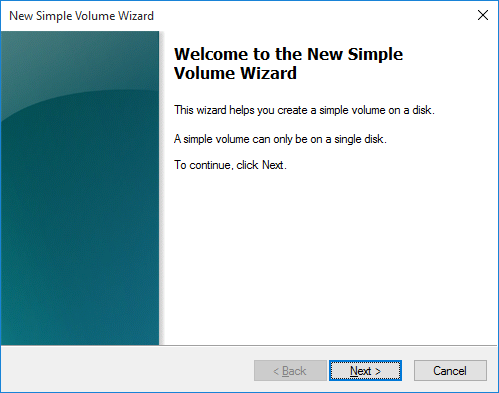
Next. 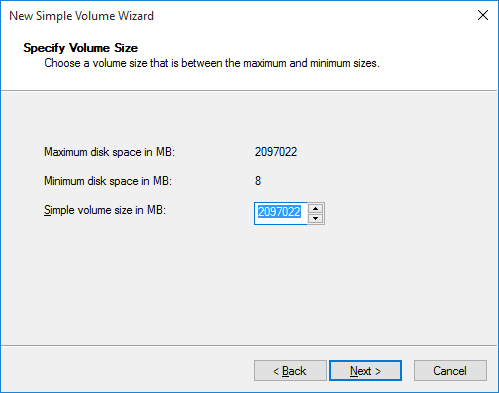
Next. 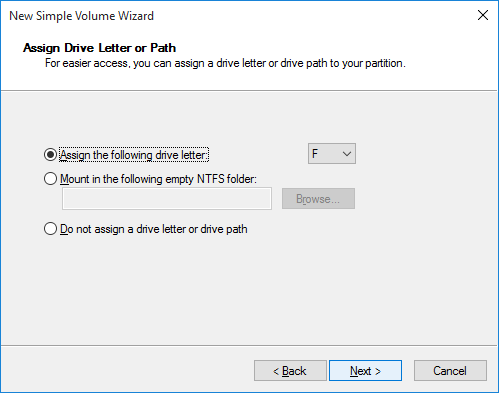
Assign a drive letter to your virtual hard disk. 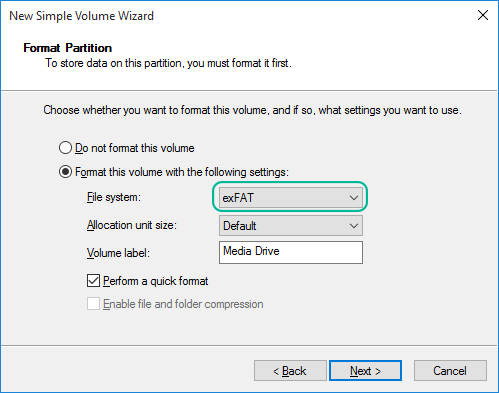
Select exFAT for compatibility with Mac. 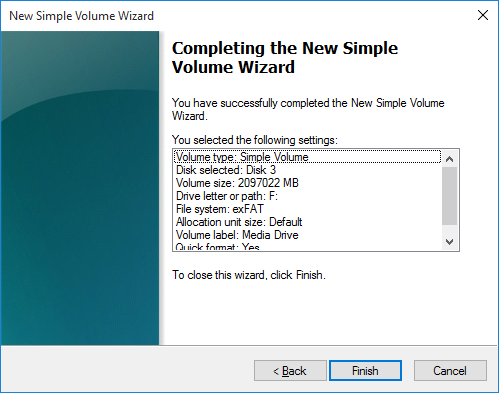
Finish! -
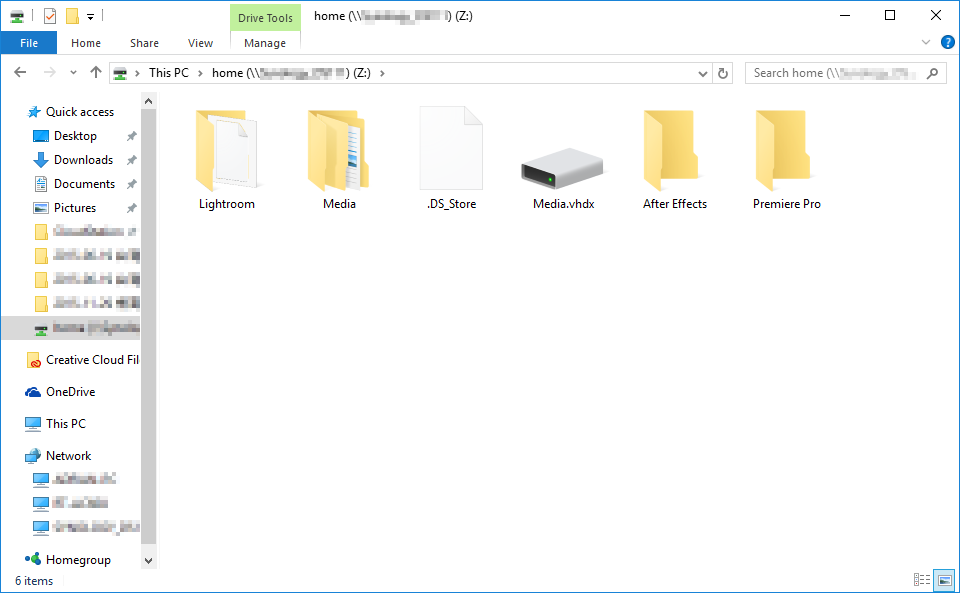
Remember to move the virtual hard disk file to the network drive. - On your Mac, download Paragon VMDK Mounter. It is free, and allows you to mount a VHDX drive on Mac.
-
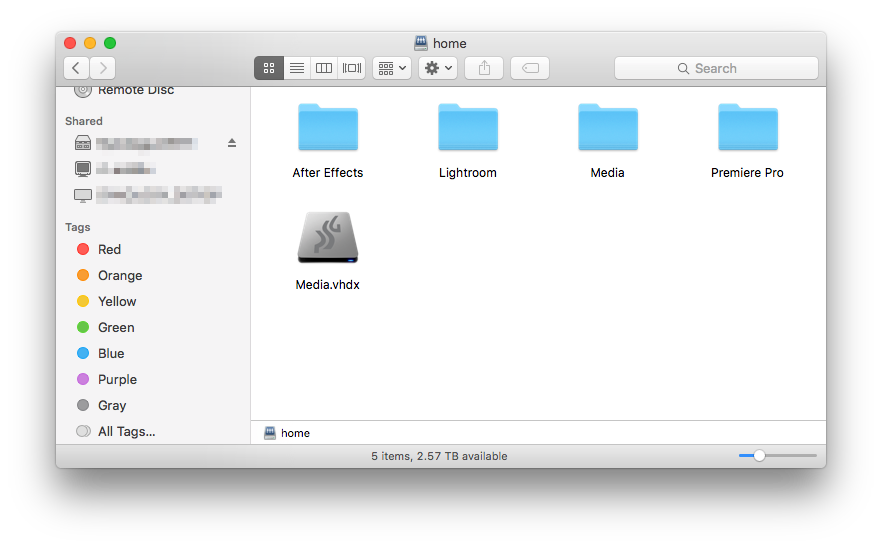
Mount your virtual hard disk by double clicking on the VHDX file. 
Copy the catalog and the media files to the drive.
There you have it! You can now use the same catalog file on your PC and Mac. They take no space on your local drive, and they are automatically backuped regularly with your network drive backup solution. Just don’t open the catalog simultaneously on multiple computers, Lightroom doesn’t like it (and I think an error will be shown).
Have fun! 🙂